
How do you ensure our app does precisely what it should do without any unexpected behaviour? To do so, we have to test it. We can test everything manually by using the app and try to find every bug ourselves, but there is a more straightforward and more time-efficient solution. We can write a few automated tests to check the entire application, looking for errors and bugs. To get familiar with different types of tests and to understand how they differ, I recommend reading the article by a software engineer from Applover Michał; you can find it here. Today we will focus on and talk more about widget tests in Flutter.
Introduction to widget testing in Flutter
To test widgets, you need a few additional tools provided by the flutter_test package, which ships with the Flutter SDK. Thanks to that, you don’t have to worry about installing them alone. Just make sure that you have flutter_test dependency in your pubspec.yaml file:
dev_dependencies:
  flutter_test:
    sdk: flutter
This dependency gives us access to the classes and functions listed below. These are all extremely useful and necessary for widget testing.
- The WidgetTester class allows building and interacting with widgets in a test environment.
- The testWidgets() function automatically creates a new WidgetTester instance for each test case and is used in place of the test() function in unit testing.
- The Finder class allows searching for widgets in the test environment.
- Widget-specific Matcher constants help verify whether a Finder locates no widgets, a widget, or multiple widgets in the test environment.
So if we want to perform a widget test we have to follow the steps listed below:
- Create a widget to test.
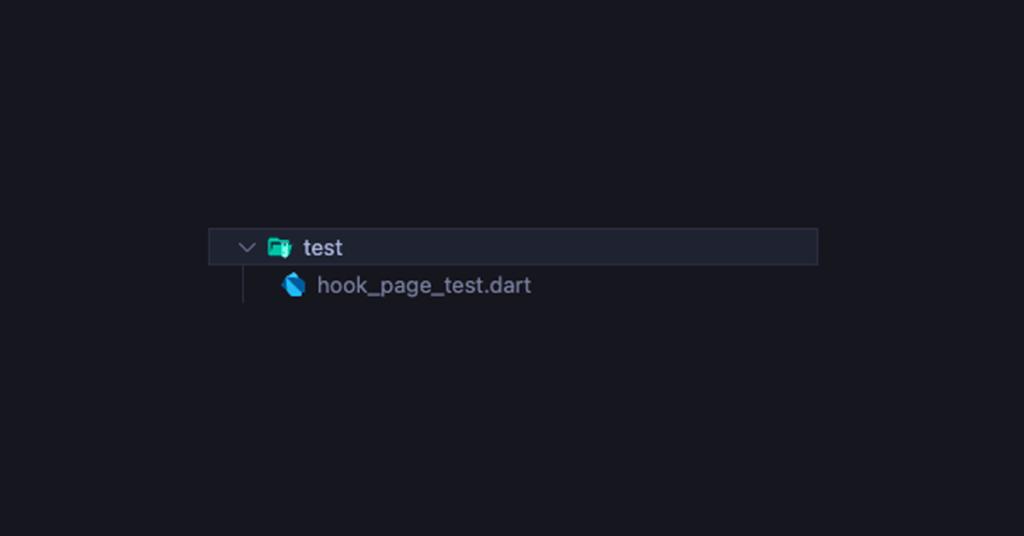
- Create a corresponding test file in the test folder in your project.
- Create a testWidgets test.
- Build the widget using the WidgetTester.
- Search for the widget using a Finder.
- Verify the widget using a Matcher.
First, we need a widget to test, so let’s use a widget from the previous article about the flutter_hooks package. Notice that I added a key parameter to both text fields to make testing a little bit easier.
import 'package:flutter/material.dart';
import 'package:flutter_hooks/flutter_hooks.dart';

class HookPage extends HookWidget {

  const HookPage({
    super.key,
    required this.title,
  });

  final String title;

  @override
  Widget build(BuildContext context) {

    final firstTextController = useTextEditingController(text: 'First text');
    final secondTextController = useTextEditingController(text: 'Second text');
    useListenable(firstTextController);
    useListenable(secondTextController);

    return Scaffold(
      appBar: AppBar(
        title: Text(title),
      ),
      body: Center(
        child: Form(
          child: Padding(
            padding: const EdgeInsets.all(16.0),
            child: Column(
              mainAxisAlignment: MainAxisAlignment.start,
              children: [
                TextFormField(
                  key: const Key('First text form field'),
                  controller: firstTextController,
                  onChanged: (value) => value = firstTextController.text,
                ),
                const SizedBox(height: 24),
                TextFormField(
                  key: const Key('Second text form field'),
                  controller: secondTextController,
                  onChanged: (value) => value = secondTextController.text,
                ),
                const SizedBox(height: 32),
                Text(firstTextController.text),
                const SizedBox(height: 32),
                Text(secondTextController.text),
              ],
            ),
          ),
        ),
      ),
    );
  }
}
Then we have to do is adding a file containing our test in the test file in the same project our widget is located.
Next, we must write a main() function that starts the test. Inside it, we have to use testWidget() function provided by the flutter_test package to define the test.
void main() {
  testWidgets(
    ‘Both text fields should be visible, it should be possible to enter text to them and Text widgets should update their data after the text is entered‘,
    (widgetTester) async {
      await widgetTester.pumpWidget(
        const MaterialApp(
          home: HookPage(title: 'Hook page'),
        ),
      );
    },
  );
}
testWidget takes two arguments, the name of the test of type <String> and a function that additionally takes the variable widgetTester, which gives us access to methods like pumpWidget(), which creates a widget, or pump() which rebuilds a widget similarly like a setState().
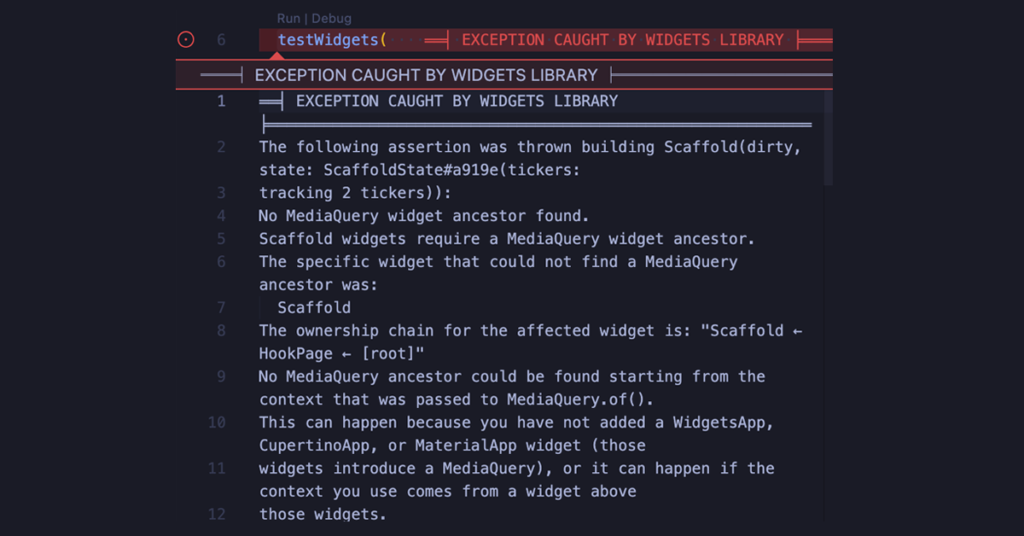
Notice two things, function, that takes an instance of a WidgetTester as a parameter is asynchronous, so we have to await for every next step. Also, we have wrapped our HookPage widget with MaterialApp. This is because HookPage contains Scaffold, and without MaterialApp we get an error, because Scaffold needs access to MediaQuery, and this access may be provided by MaterialApp.
Our next step should be searching for FormTextFields widgets and making sure that they are displayed correctly and are empty. So we need to add two expect() functions.
expect(find.byKey(const Key('First text form field')), findsOneWidget);
expect(find.byKey(const Key('Second text form field')), findsOneWidget);
These two pieces of code check if both TextFormFields are rendered correctly. Notice that I used find.byKey Finder. This is why I added keys in the widgets, to enable finding them by these parameters. Now let’s check if both Text widgets are displayed correctly. We can achieve this by finding them using find.byWidgetPredicate:
expect(find.byWidgetPredicate((widget) => widget is Text && widget.data == 'First text'), findsOneWidget);

expect(find.byWidgetPredicate((widget) => widget is Text && widget.data == 'Second text'), findsOneWidget);
Now we should try to enter text into the first TextFormField and check if this is possible.
await widgetTester.enterText(firstTextField, 'Does it work?');
await widgetTester.pump();
Notice that I used the pump() method to rebuild our widget. Our next step will be checking if the Text widget below changed its data after we entered text into a TextFormField.
expect(find.byWidgetPredicate((widget) => widget is Text && widget.data == 'Does it work?'), findsOneWidget);
And our last move is entering the text to the second TextFormField and checking if the Text widget also changed its data:
await widgetTester.enterText(secondTextField, 'Of course it works!');
await widgetTester.pump();

expect(find.byWidgetPredicate((widget) => widget is Text && widget.data == 'Of course it works!'), findsOneWidget);
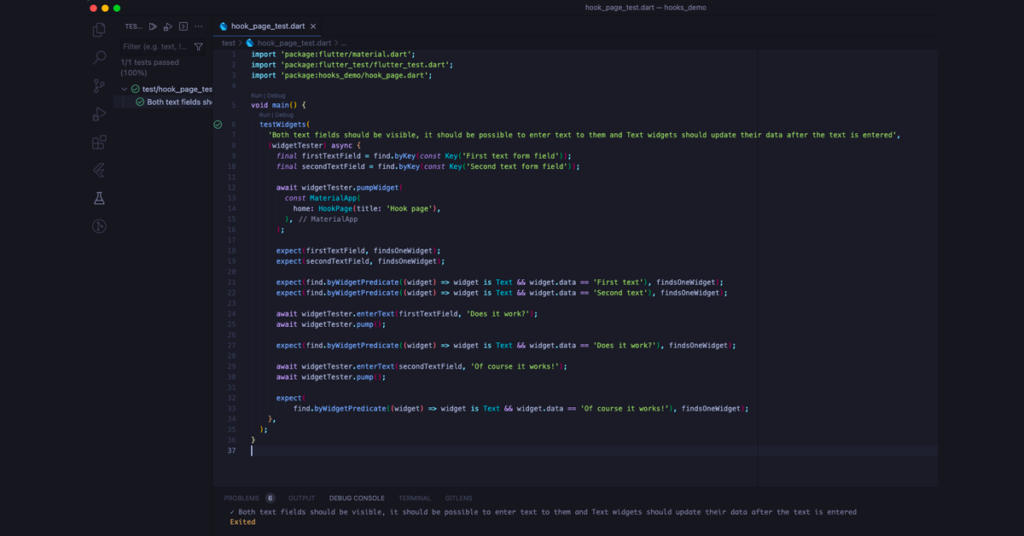
If we run this test, we will get a green check, which means that the test passed and everything works as expected.
Let’s consider another example, this time a custom check box:
import 'package:flutter/material.dart';
import 'package:flutter_hooks/flutter_hooks.dart';

class AppCheckBox extends HookWidget {

  const AppCheckBox({
    required this.onChange,
    required this.activeColor,
    required this.inactiveColor,
    this.size = 32,
    this.borderRadius = 4,
    this.initialValue = false,
    this.iconColor,
    this.borderActiveColor,
    this.borderInactiveColor,
    this.label,
  });

  final Function(bool?) onChange;
  final String? label;
  final double size;
  final double borderRadius;
  final bool initialValue;
  final Color activeColor;
  final Color inactiveColor;
  final Color? iconColor;
  final Color? borderActiveColor;
  final Color? borderInactiveColor;
  static const _iconAnimationDuration = 300;
  static const _containerAnimationDuration = 300;

  @override
  Widget build(BuildContext context) {

    final checked = useState(initialValue);

    return Row(
      mainAxisAlignment: MainAxisAlignment.center,
      children: [
        GestureDetector(
          onTap: () {
            checked.value = !checked.value;
            // onChange(checked.value);
          },
          child: AnimatedContainer(
            width: size,
            height: size,
            decoration: BoxDecoration(
              border: Border.all(
                color: checked.value ? borderActiveColor ?? activeColor : borderInactiveColor ?? inactiveColor,
              ),
              borderRadius: BorderRadius.circular(borderRadius),
              color: checked.value ? activeColor : inactiveColor,
            ),
            duration: const Duration(
              milliseconds: _containerAnimationDuration,
            ),
            curve: Curves.easeOut,
            child: AnimatedOpacity(
              duration: const Duration(
                milliseconds: _iconAnimationDuration,
              ),
              curve: Curves.easeOut,
              opacity: checked.value ? 1 : 0,
              child: checked.value
                  ? Icon(
                      Icons.check,
                      size: size - 4,
                      color: iconColor,
                      textDirection: TextDirection.ltr,
                    )
                  : null,
            ),
          ),
        ),
        if (label != null) ...[
          const SizedBox(width: 12),
          Text(
            label!,
            style: Theme.of(context).textTheme.bodyMedium,
          ),
        ]
      ],
    );
  }
}
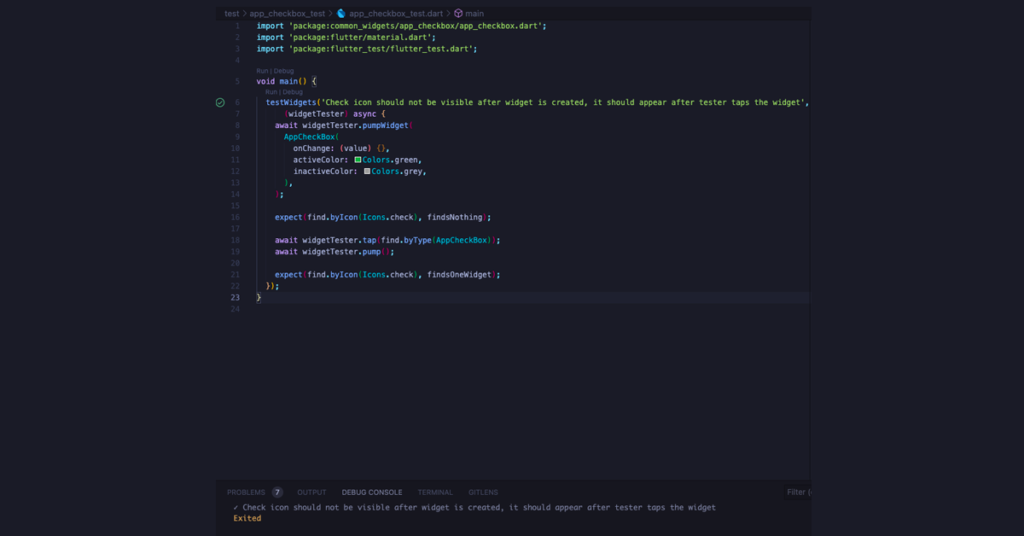
Again we should start with calling an async testWidgets() method, then we should await for widgetTester to pumpWidget.
testWidgets('Check icon should not be visible after widget is created, it should appear after tester taps the widget', (widgetTester) async {
    await widgetTester.pumpWidget(
      AppCheckBox(
        onChange: (value) {},
        activeColor: Colors.green,
        inactiveColor: Colors.grey,
      ),
    );
Notice that the check icon should not be visible right after creating the widget. So let’s check if that is true in our test.
expect(find.byIcon(Icons.check), findsNothing);
Next, let’s tell our widgetTester to tap the widget and search for the icon. It should appear after being tapped and re-rendered on the screen.
await widgetTester.tap(find.byType(AppCheckBox));
await widgetTester.pump();

expect(find.byIcon(Icons.check), findsOneWidget);
And finally, let’s run our test and check if everything works as expected. As you may see, the test passes, and everything works as planned.
Contact
Would you like to talk more about Flutter app development?

Boost your Flutter development with widget testing
Testing the application before its release is crucial during the software development process. Thanks to the tests, we know that the application works exactly as expected and that the user will not see an unexpected error on the device screen. I hope this article helped start the adventure with the widget tests. For more information, I refer you to the official documentation and the article by my friend Michał.


