
In the app development journey, our primary goal is to establish the functionality and to engineer something that serves a purpose for its users. This part is often a straightforward process; it calls for an innovative idea that addresses a problem, followed by the execution of that idea into a bug-free application. With this, we’ve created something functional, something useful. But the following challenge is persuading the user to choose our application over others, to appreciate it, and to recommend it to their network.
One crucial aspect that helps us win over users is the fusion of UI (User Interface) and UX (User Experience). A visually pleasing, user-friendly mobile app can often be forgiven for minor errors or glitches. Creating such an attractive interface falls on the designer, but we focus on bringing the designer’s vision to life in a Flutter application.
If you’ve ever attempted to develop animations for Android using XML, you’d understand that it’s not the most enjoyable job. With its XML-free environment and seamless animation creation, Flutter has become a go-to for many developers. But animations here can still have limitations.
This is where Rive comes in. It’s a tool that lets us create animations and control their behavior. This blog post will guide you through creating smooth animations using the combined power of Flutter and Rive, helping you take your app design to new heights.
What is Rive?
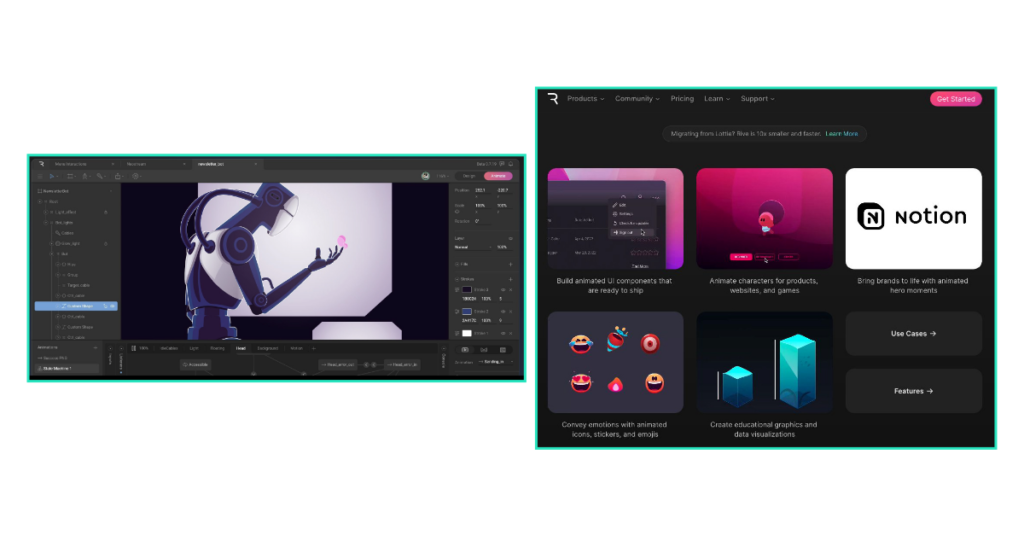
Rive is a tool for creating interactive animations in Flutter. It offers a real-time interactive design and animation environment, enabling designers to craft intricate animations that adapt to user inputs and states.
When combined, Flutter and Rive can create a synergy that allows designers and developers to bring their creative vision to life, offering users an engaging and aesthetically pleasing experience. You can just visit the Rive website to see how smooth, pretty, and interactive we can create animations with the help of this tool.
Why should you use Rive?
Rive brings a unique value proposition to the table regarding digital animation. It offers an interactive design and animation platform that allows designers and developers to collaborate more efficiently, bridging the gap between design and code. Here are a few reasons why you should consider using Rive:
- Interactivity. Rive’s platform allows for creating animations that can respond to user inputs or application states. This opens up a world of possibilities for creating a more engaging user experience.
- Real-time editing. With Rive, you can edit animations in real-time. This makes it easier to experiment, iterate, and refine your animations until you achieve the desired effect.
- Collaborative platform. Rive fosters collaboration between designers and developers. Designers can create animations and easily hand them off to developers for integration, and developers can manipulate these animations programmatically to suit the application’s needs.
- Lightweight and high performance. Rive generates lightweight files that do not affect the performance of your application. This ensures that even complex animations run smoothly without slowing down your app.
Rive vs. LottieFiles
LottieFiles is a platform that offers a wide range of ready-to-use animations created by a community of designers worldwide. These animations are typically exported from Adobe After Effects using the Bodymovin plugin and can be integrated into applications using Lottie’s libraries for various platforms. LottieFiles is a great tool if you’re looking for a quick and easy way to implement standard animations into your app without designing them from scratch.
However, LottieFiles animations are typically not interactive. They can’t respond to user inputs or app states in the way that Rive animations can. This limits their use in applications that require a high degree of interactivity.
Rive, on the other hand, excels in creating interactive animations. The ability to control animations programmatically and respond to user inputs or app states offers a level of engagement that static animations can’t match. This makes Rive a more versatile tool for app developers who want to create a more dynamic and interactive user experience.
The choice between Rive and LottieFiles will ultimately depend on your specific needs. If you require simple, ready-to-use animations and want to implement them quickly and easily, LottieFiles may be the way to go. However, Rive is likely the better choice if you want more interactivity and control over your animations.
Integrating Rive into your Flutter project
When your development environment is set up, let’s integrate Rive into the Flutter project:
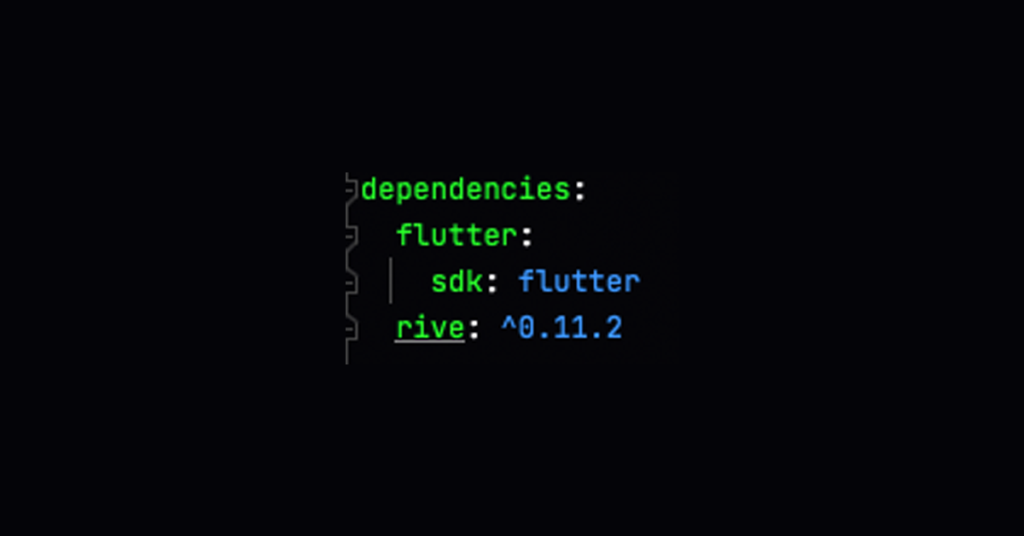
In your Flutter project, add the Rive package to your ‘pubspec.yaml’ file. You can find the latest version of the Rive package on the pub.dev website.
Copy the ‘.riv’ file into your project’s ‘assets’ directory. If you don’t have an ‘assets’ directory, you can create one at the root of your project. Then, reference the Rive file in your ‘pubspec.yaml’ file under the ‘assets’ section

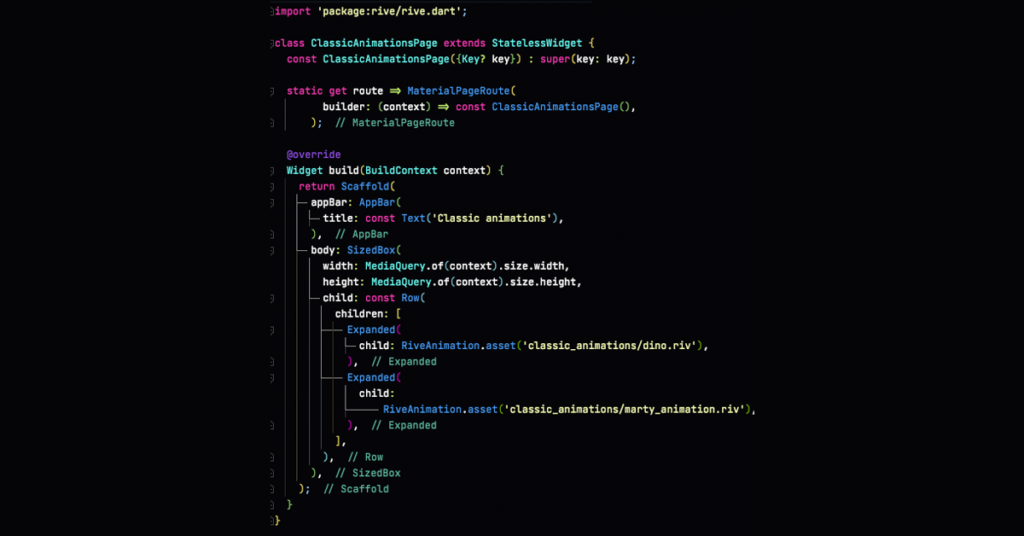
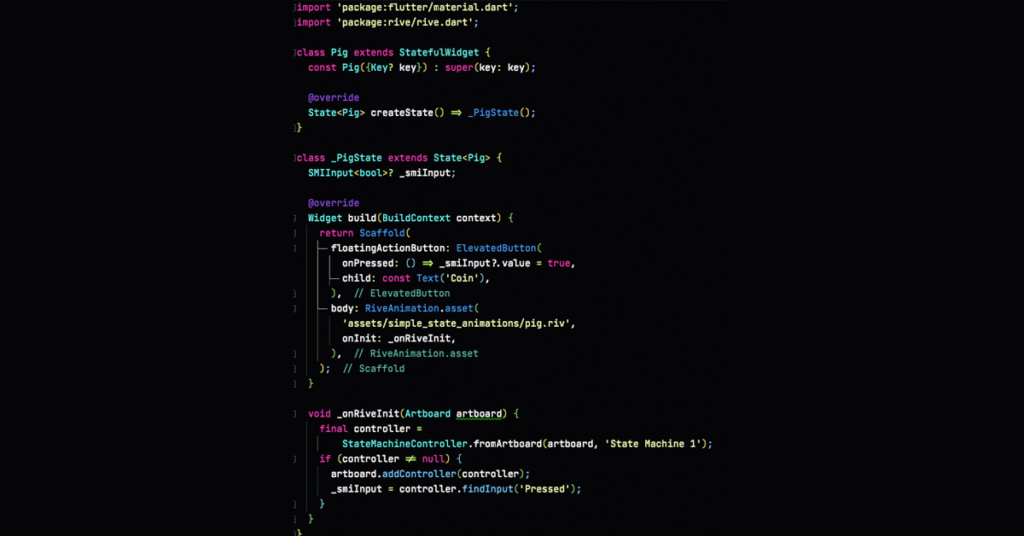
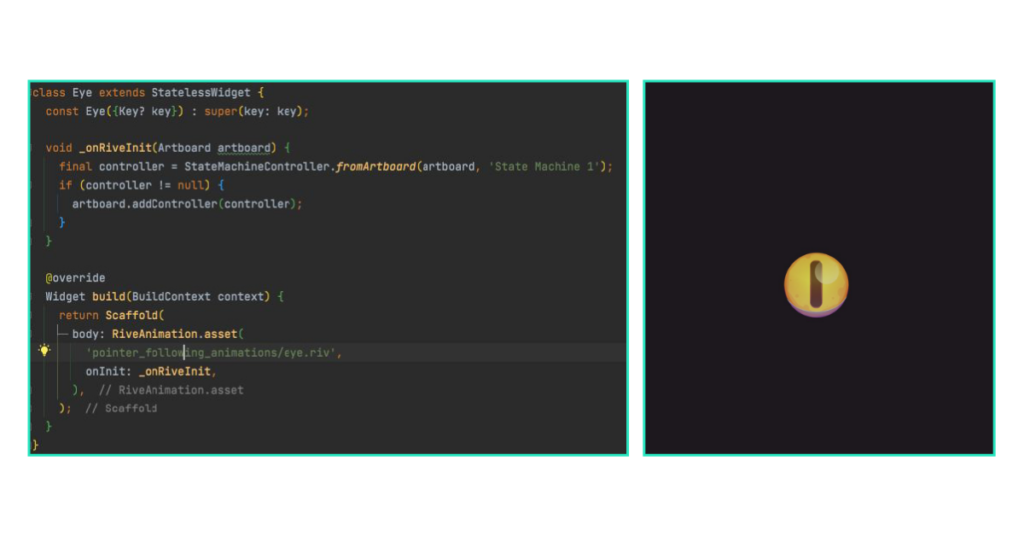
You can now display the animation using the Rive widget in your Dart code. The Rive widget takes a ‘filename’ parameter which should be the path to your ‘.riv’ file in the ‘assets’ directory.
Adding interactive animations
One of the standout features of Rive is its support for StateMachines. StateMachines allow you to control animations programmatically, making your animations truly interactive. With StateMachines, you can set up different animation states and control how your application transitions between these states based on user input or application conditions.
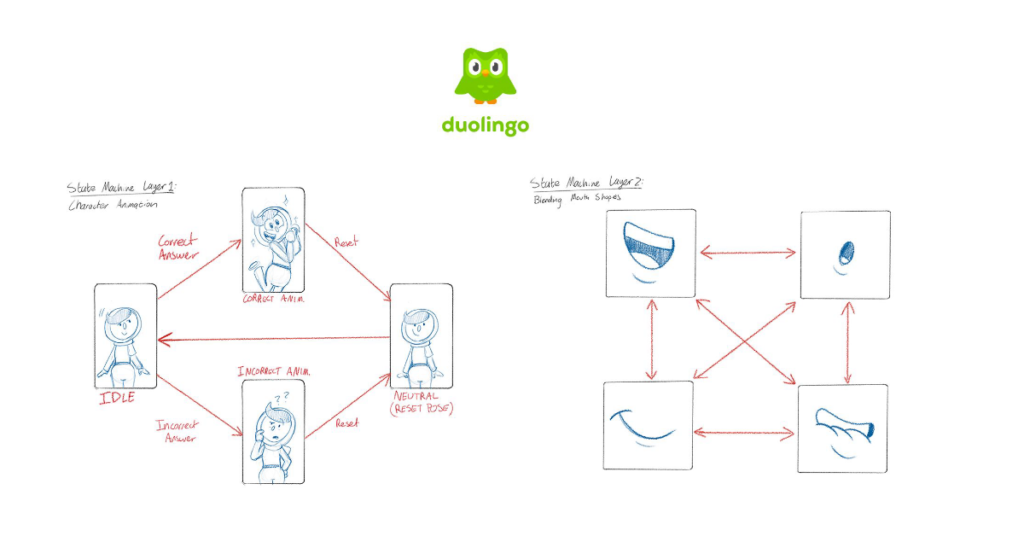
The first step is to create a StateMachine for your animation in the Rive editor. After creating your animation, you can add a new StateMachine in the ‘Animations’ panel. In this StateMachine, you can define different animation states and their transitions. For each state, you can specify an animation to play.
Inputs are triggers that allow you to control the transitions between different states. Rive supports several types of inputs, including number, boolean, and trigger inputs. You can link these inputs to different parts of your animation to control them based on user interactions or application states.
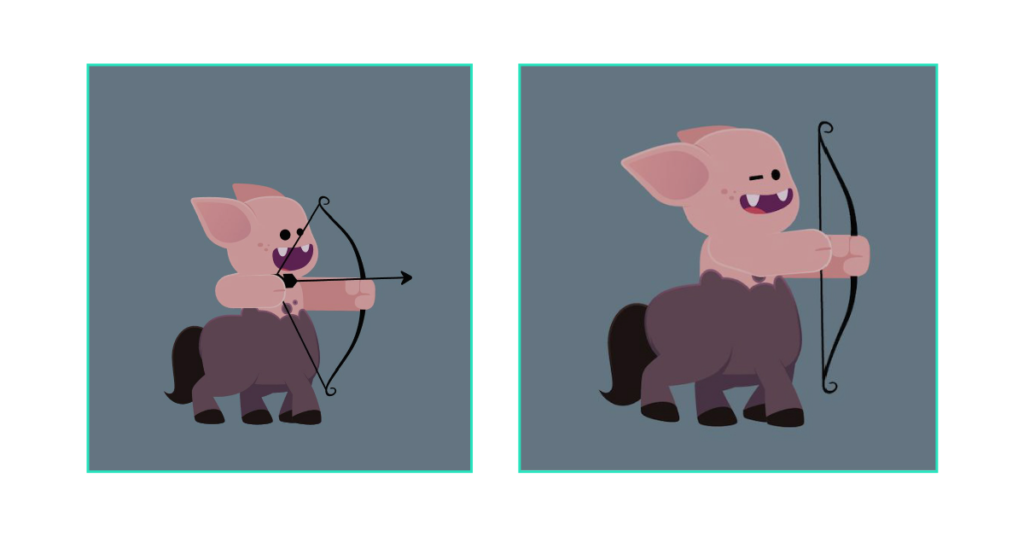
Blending animations
Animation blending involves transitioning from one animation state to another seamlessly. Rather than abruptly switching from one animation to another, blending allows for a smooth transition, making the movement appear more natural and fluid.
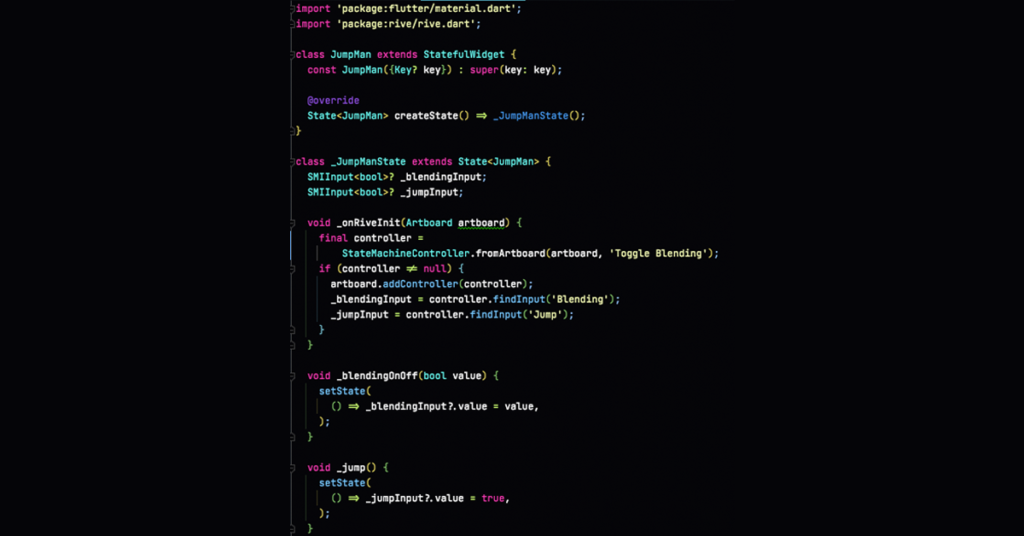
In Rive, you can blend animations together using layers and mix percentages. When you create a new animation in Rive, it is assigned to a layer. Animations in the same layer can be blended together based on their mix percentages.
The mix percentage determines how much influence an animation has in the blend. An animation with a mixed percentage of 100% will completely override any other animations in the same layer. It will have no influence if it has a mixed percentage of 0%.
When you’ve set up animation blending in Rive, you can control it in your Flutter app using the Rive package. You can programmatically access the animations in your Rive artboard and control their mix percentages.

The no-code/low-code approach
The terms ‘no-code’ and ‘low-code’ are fairly self-explanatory. No-code platforms are designed to allow anyone, even those without a programming background, to create applications using visual, drag-and-drop interfaces. Low-code platforms, while still offering a simplified approach to application development, may require some level of coding for more complex features or customization.
Rive, in particular, is a powerful tool in the low-code toolbox. Allowing designers and developers to create complex animations through an intuitive visual interface significantly reduces the code required to produce stunning visual results.
With Rive, you can build intricate animations and interactions and then export them directly to your Flutter application. You can even create interactive animations with StateMachines without writing a single line of code. For those elements that require a bit more control or complexity, you can use a minimal amount of Dart code to integrate these animations into your app.
Contact
Would you like to implement smooth animations in your Flutter application?

Improving your Flutter workflow further
The synergy between Flutter and Rive presents an exciting avenue for creating dynamic, interactive, and beautiful applications. By leveraging the power of these tools, we can create apps that function optimally and provide a delightful user experience. With these insights, you can bring your app designs to life with smooth, interactive animations and make the most of Flutter and Rive’s offers.
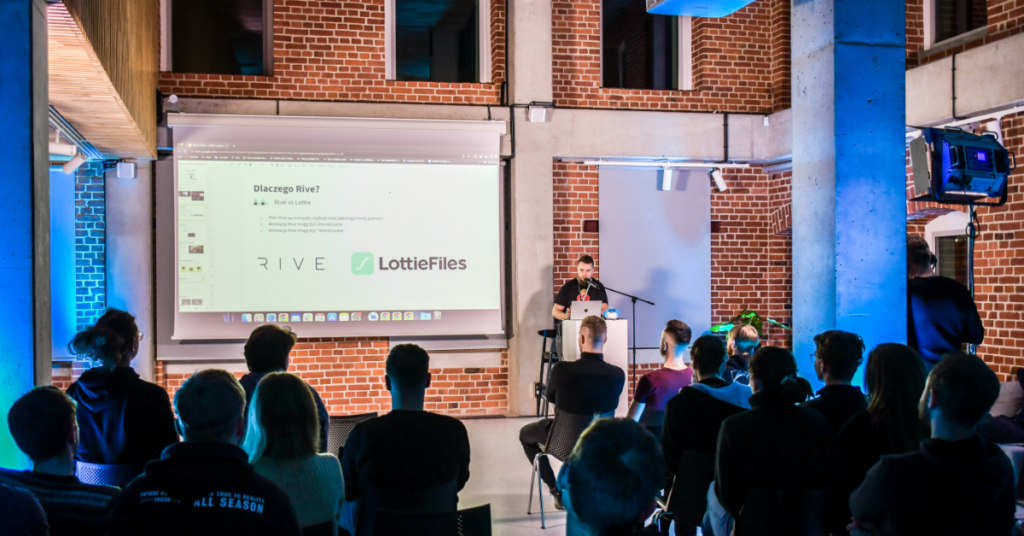
Looking ahead, it’s evident that the popularity of Flutter and the interest in tools like Rive is growing, as showcased in the Flutter Wrocław Meetup. Co-hosted with GDG Wrocław, this event is a hub of learning and inspiration. Stay tuned for more opportunities to delve deeper into the world of Flutter development and to connect with the vibrant Flutter community in Poland.


